
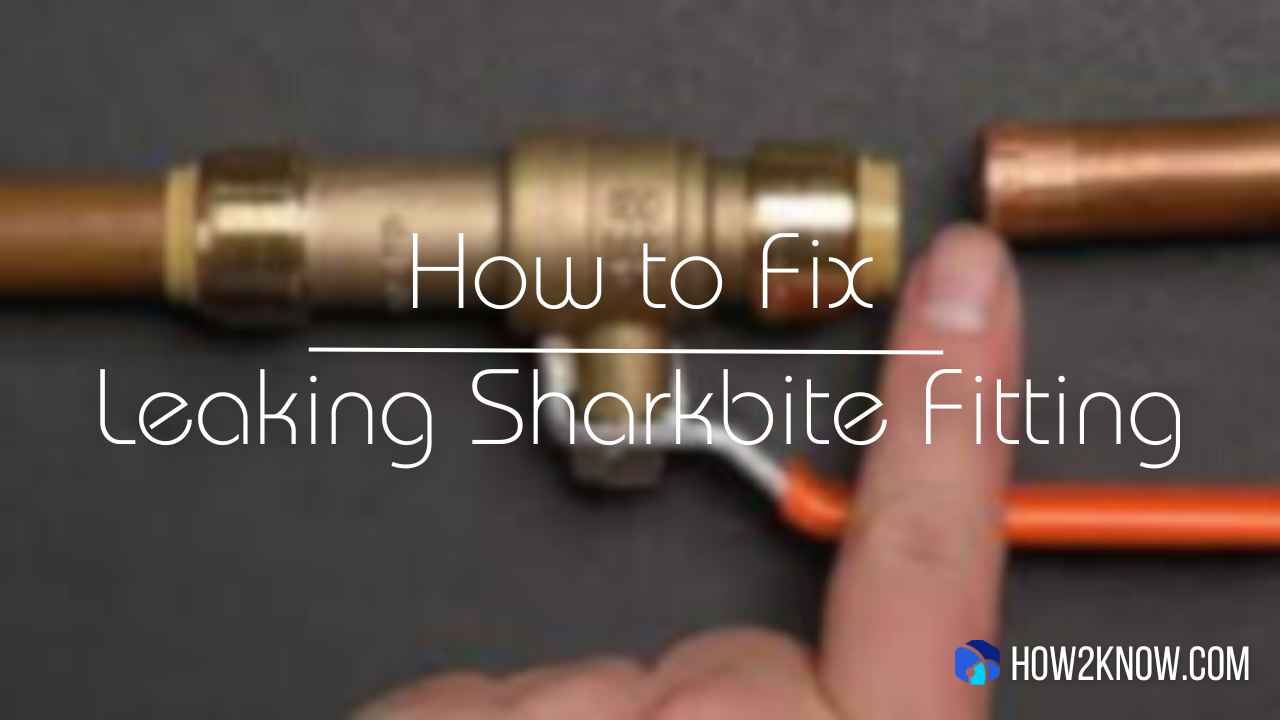
How to fix leaking sharkbite fitting
When dealing with a leaking SharkBite fitting, it’s essential to address the issue promptly to avoid water damage and costly repairs. This comprehensive guide will walk you through the process of fixing a leaking SharkBite fitting, empowering you to take matters into your own hands. No extensive plumbing experience required – just a few tools, some patience, and our step-by-step instructions.
Table of Contents
Introduction: The Frustration of a Leaky SharkBite Fitting

The Frustration of a Leaky SharkBite Fitting
Dealing with a leaking SharkBite fitting can be a homeowner’s nightmare. But fear not! This comprehensive guide will empower you with the knowledge and skills to tackle the issue confidently. Say goodbye to annoying leaks with our step-by-step DIY solutions.
Understanding SharkBite Fittings
Before we dive into the fix, let’s get to know SharkBite fittings. What makes them unique, and how do they work? Understanding the basics is key to fixing leaks effectively.
Detecting a Leaky SharkBite Fitting
Identifying the source of the leak is the first step in solving the problem. Learn how to spot a leaky SharkBite fitting and pinpoint the exact location for repair.
Tools and Materials You’ll Need
To fix a leak, you’ll need the right tools and materials. We’ll provide a checklist to ensure you’re well-prepared for the task at hand.
Step-by-Step Guide to Fixing the Leak

Step-by-Step Guide to Fixing the Leak
Now, the nitty-gritty! Our detailed step-by-step guide will walk you through the process, from preparation to testing for leaks. You’ll be a DIY plumbing pro in no time!
5.1. Safety First: Turn Off the Water
Safety should always come first. We’ll cover the safety measures to take before working on your plumbing.
5.2. Identify the Leaky Connection
Pinpointing the exact location of the leak is crucial. We’ll show you how to do it accurately.
5.3. Cut and Remove
Sometimes, a faulty section needs to be removed. Learn how to do it correctly.
5.4. Clean and Deburr
Cleaning and deburring are essential steps for a watertight connection. We’ll guide you through it.
5.5. Reconnect or Replace
Whether it’s reconnecting or replacing a section, we’ve got you covered.
5.6. Test for Leaks
After your fix, it’s crucial to ensure it worked. Learn how to test for leaks effectively.
Preventing Future Leaks
Nobody likes a repeat performance. Discover tips and tricks to prevent future SharkBite fitting leaks.
When to Seek Professional Help
In some cases, a professional’s expertise may be necessary. We’ll help you determine when it’s time to call in the experts.
Conclusion

Conclusion
In conclusion, dealing with a leaking SharkBite fitting can indeed be a homeowner’s nightmare, but the frustration can be alleviated with the right knowledge and tools. This comprehensive guide has provided you with the essential information and practical steps to tackle this common plumbing issue effectively.
Understanding the fundamentals of SharkBite fittings is the first crucial step in addressing leaks. Armed with this knowledge, you can confidently identify and detect the source of a leak. This guide has not only explained how to spot a leaky SharkBite fitting but has also emphasized the importance of pinpointing the precise location for repair.
To empower you further, we have listed the necessary tools and materials for a successful fix, ensuring you are well-prepared for the task. The step-by-step guide offered a detailed walk-through, from safety measures to testing for leaks after the repair.
In the end, preventing future leaks is the key to long-term peace of mind, and this guide has shared valuable tips and tricks to help you achieve just that. However, should you encounter a situation beyond your expertise, we’ve also guided you on when it’s best to seek professional assistance.
Say goodbye to the frustration of a leaky SharkBite fitting. With this newfound knowledge, you can confidently tackle such plumbing issues, saving you time and money in the long run.
FAQ
Q1: How can I detect a leaking SharkBite fitting?
A1: To detect a leaking SharkBite fitting, look for visible signs of water around the fitting, such as drips, dampness, or water stains.
Q2: What should I do to prevent future leaks in SharkBite fittings?
A2: Prevent future leaks by ensuring proper installation, checking fittings for damage, and regularly inspecting for any signs of wear or corrosion.
Q3: When is it necessary to seek professional help for a leaking SharkBite fitting?
A3: You should seek professional help if you encounter a situation beyond your expertise, if the leak persists despite DIY efforts, or if you’re uncertain about the repair process.
Q4: What is the first step in fixing a leaking SharkBite fitting?
A4: The first step is to turn off the water supply to ensure safety before addressing the leak.
Q5: Why is it essential to identify the exact location of a leak in a SharkBite fitting?
A5: Identifying the exact location of the leak is crucial to ensure a precise and effective repair, saving you time and effort in the long run.
Deprecated: str_contains(): Passing null to parameter #1 ($haystack) of type string is deprecated in /home/u979215364/domains/how2-know.com/public_html/wp-includes/comment-template.php on line 2662